
DIY Installation Guide for LED Video Walls: What You Need to Know
TA
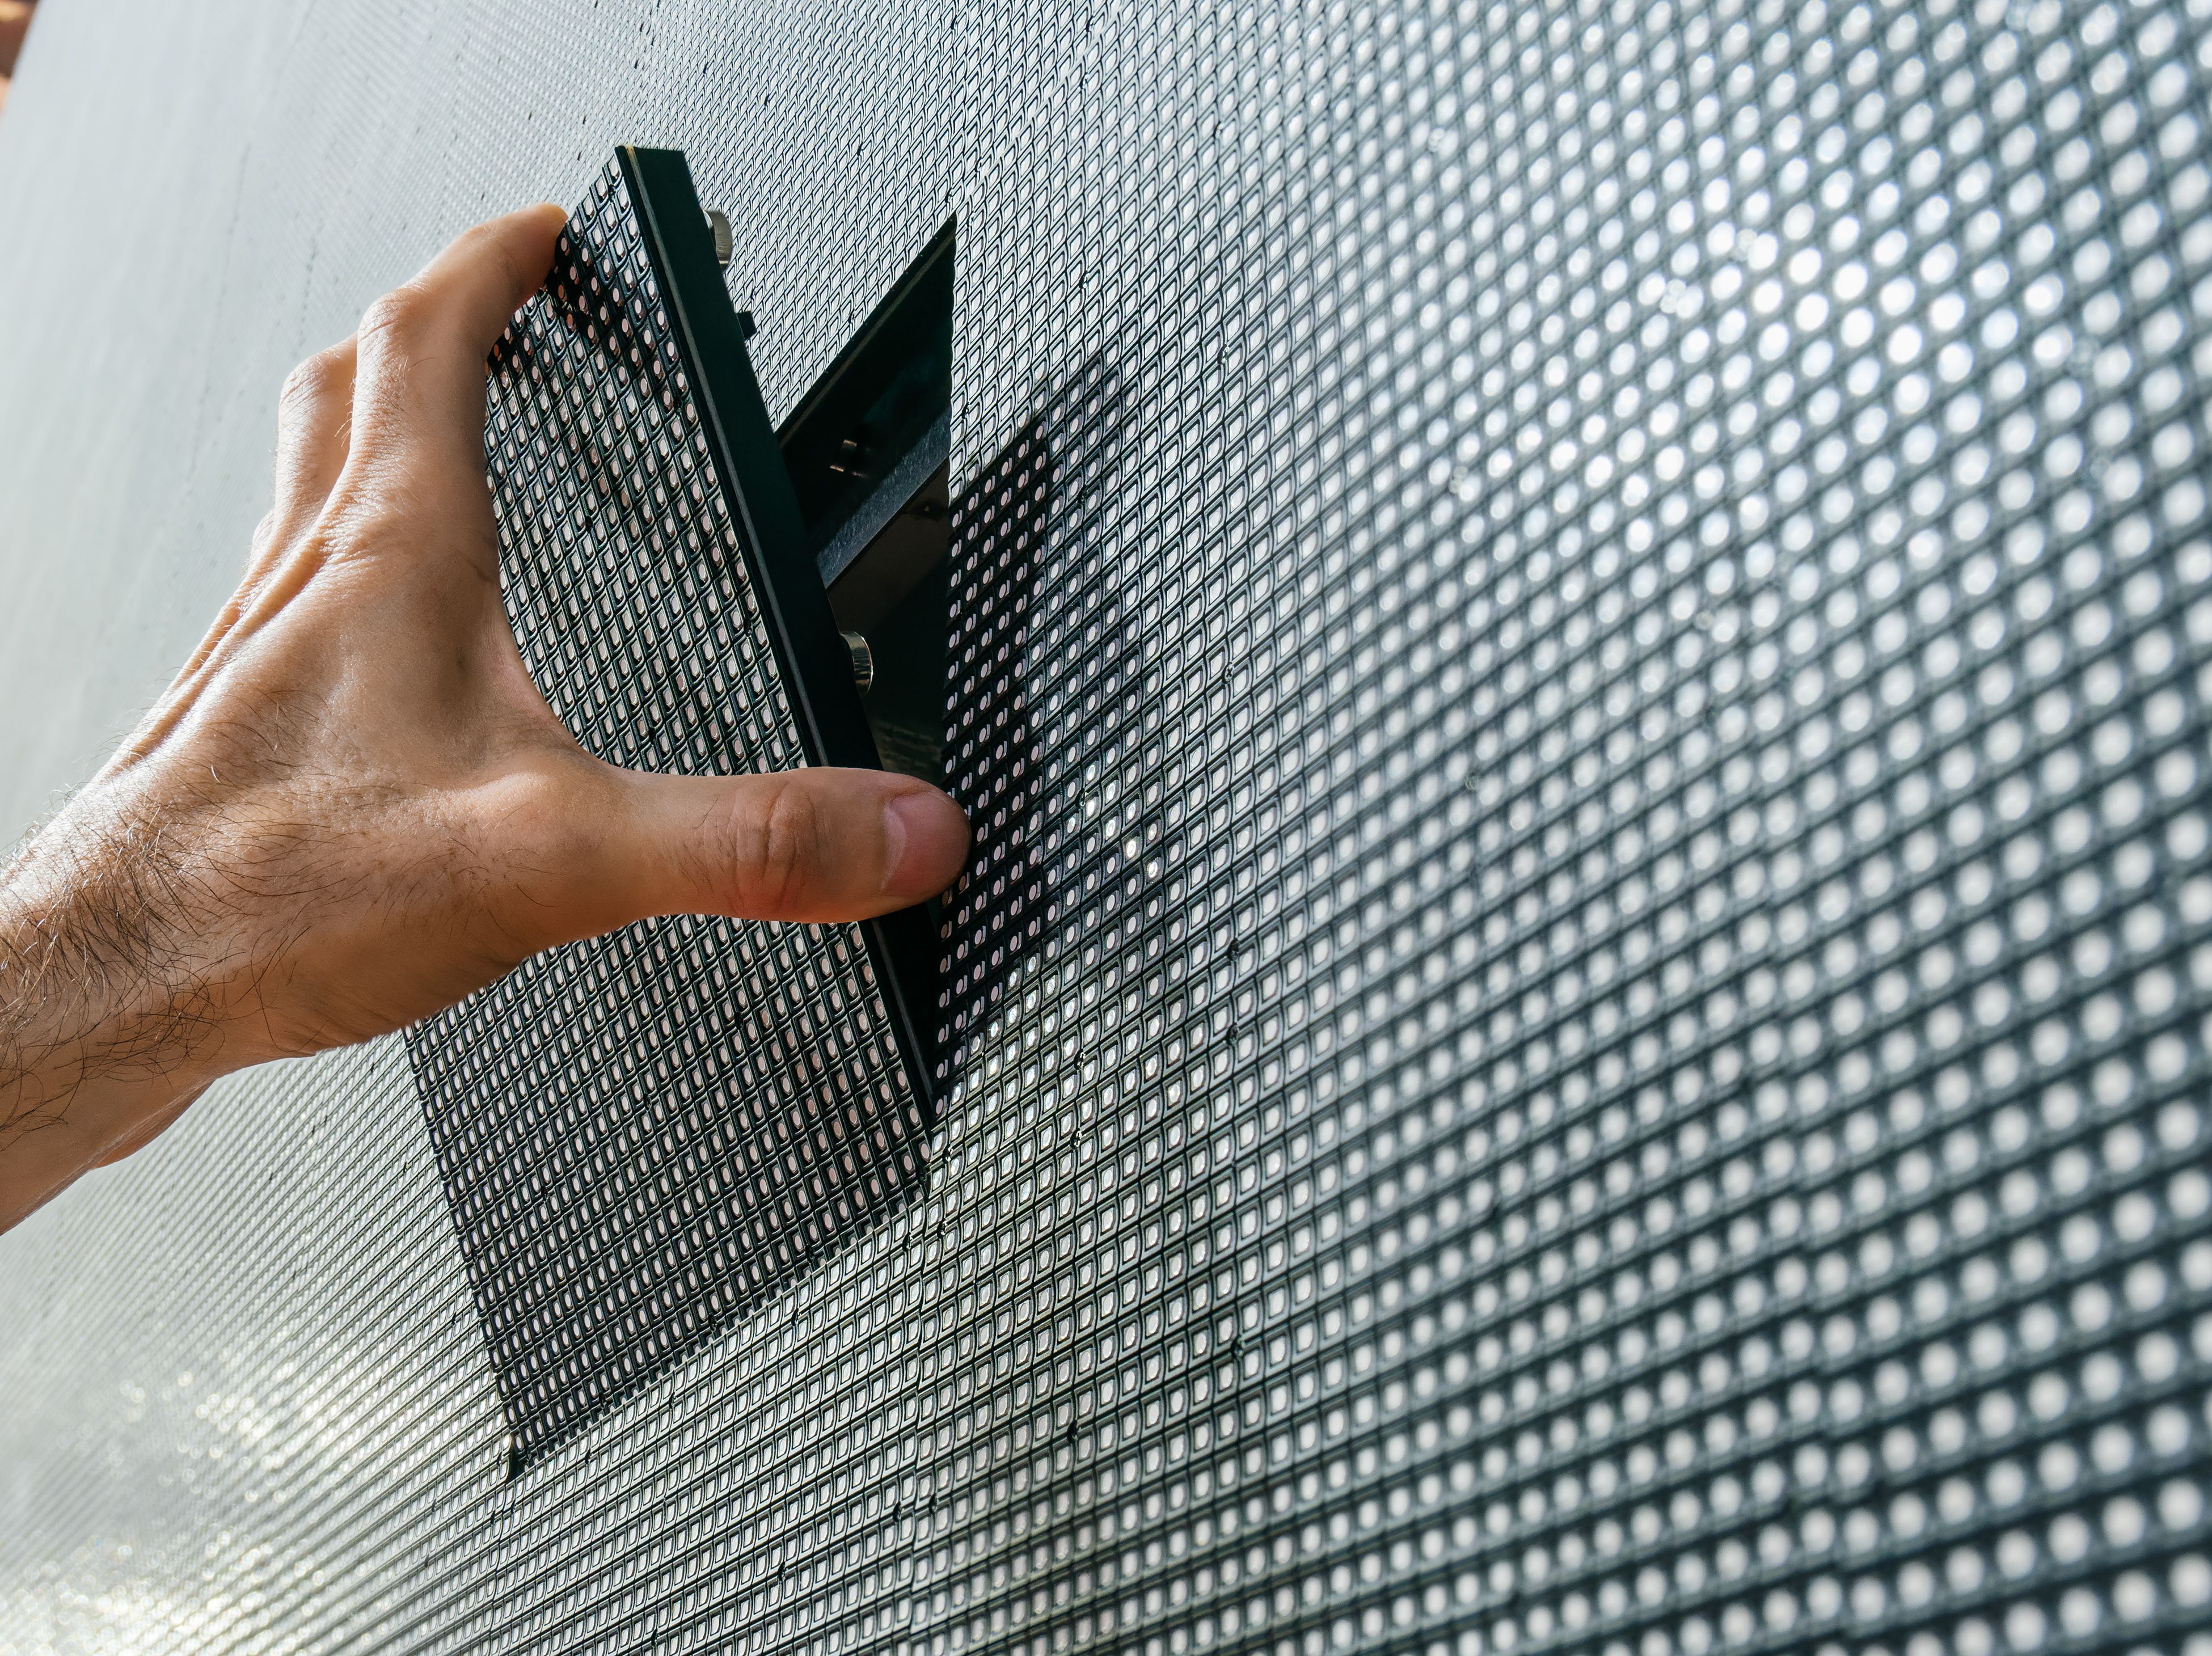
Understanding LED Video Walls
LED video walls have become a popular choice for businesses and event organizers looking to make a bold visual statement. These walls consist of several LED panels seamlessly joined together to form one large display. They are versatile and can be customized to fit various spaces and purposes, making them ideal for advertising, information dissemination, or entertainment.
Before diving into the installation process, it's essential to understand the components involved in setting up an LED video wall. These components include LED panels, mounting structures, control systems, and cables. Familiarizing yourself with these parts can help ensure a smoother installation process.
Gathering the Necessary Tools and Materials
Before you start the installation, gather all the necessary tools and materials. Here's a checklist of what you'll need:
- Screwdriver set
- Measuring tape
- Level
- Drill and drill bits
- Cables and connectors
- Mounting brackets
- Safety gear (gloves, goggles)
Having these tools ready will save time and help you avoid interruptions during the installation process. Additionally, make sure you have the correct number of LED panels and that they are compatible with your control system.
Pre-Installation Preparations
Begin by selecting an appropriate location for your LED video wall. Consider factors such as visibility, ambient light conditions, and the availability of power sources. Once you've chosen the location, measure the area to ensure your video wall will fit perfectly. It's crucial to leave some space around the wall for ventilation.
Next, inspect the wall or structure where you'll be mounting the LED panels. Ensure it's sturdy enough to support the weight of the panels. If necessary, reinforce the wall or structure to prevent any safety hazards during or after installation.
Installing the Mounting Structure
The next step is to install the mounting structure. Begin by marking the positions where you'll attach the brackets or frames. Use a level to ensure alignment and precision. Drill holes at the marked spots and secure the mounting brackets using appropriate screws and anchors.
Once the mounting structure is in place, double-check its stability. It should be able to support the weight of the LED panels without any wobbling or shifting. This step is crucial for both safety and visual integrity.
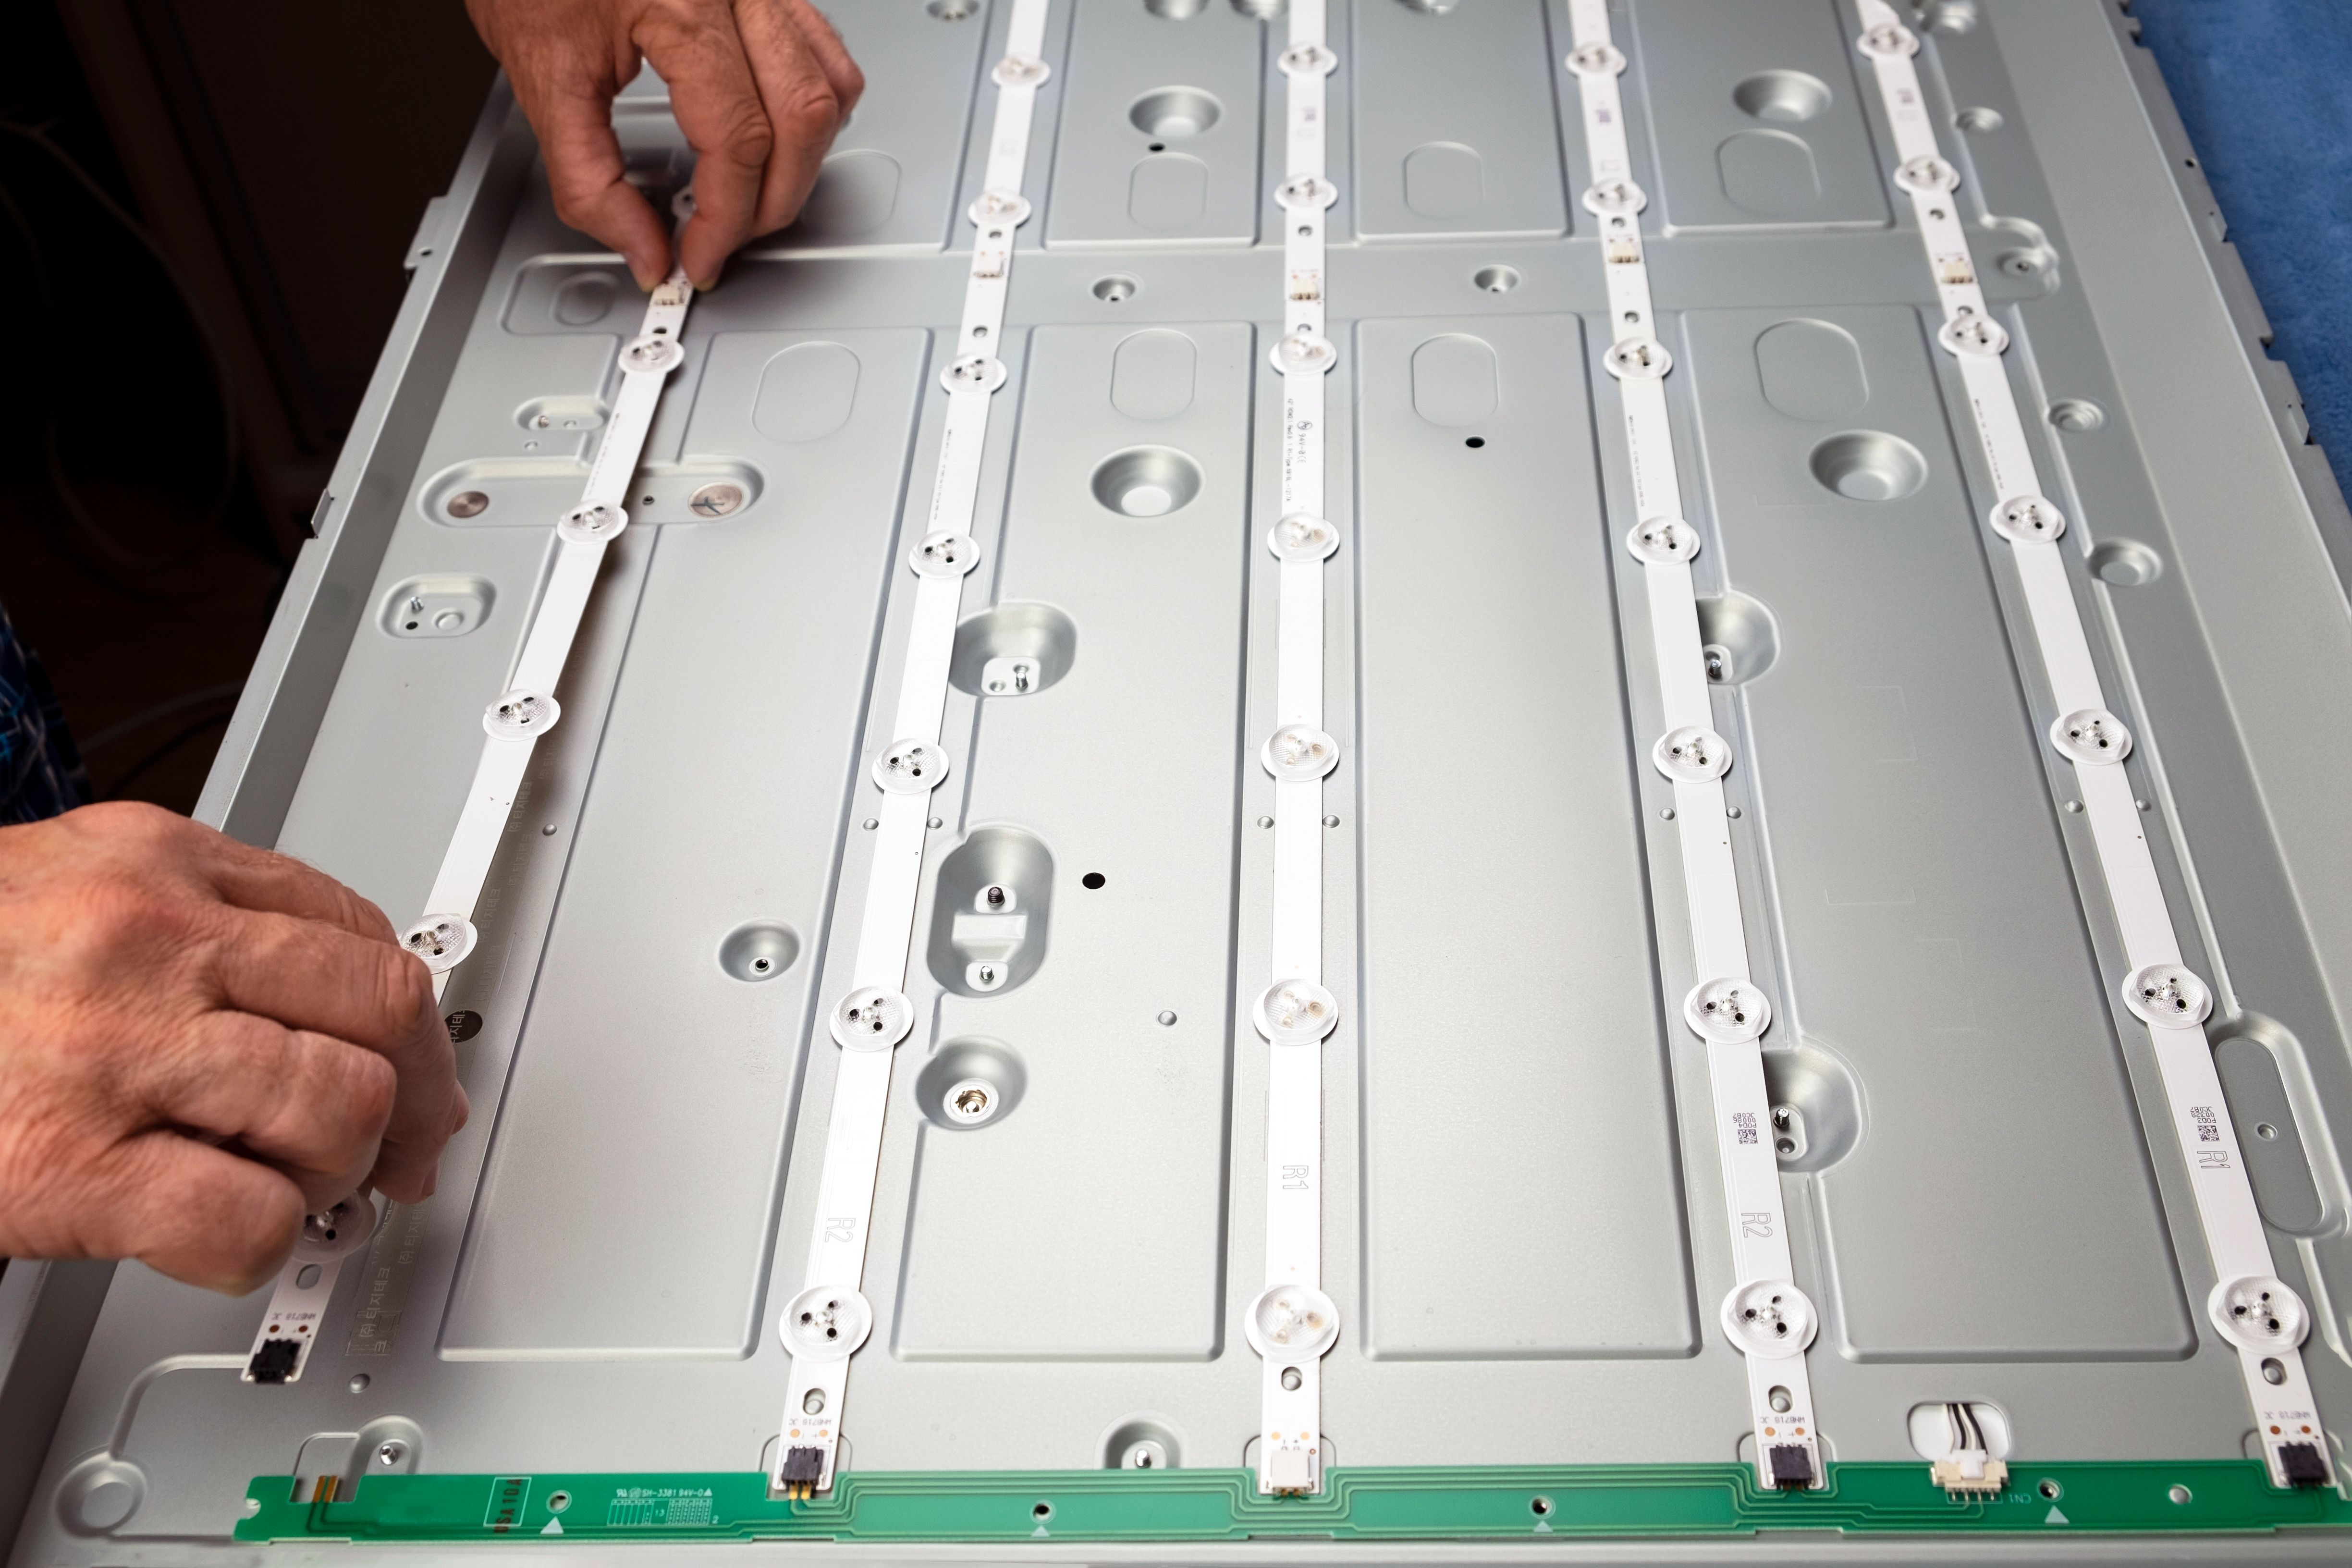
Mounting the LED Panels
With the mounting structure ready, you can begin attaching the LED panels. Carefully lift each panel and secure it to the brackets or frame according to the manufacturer's instructions. Ensure each panel is aligned correctly to maintain a seamless display.
Connect the panels using the supplied cables and connectors. Pay attention to cable management to avoid clutter and potential interference with the display's performance. Use cable ties or clips to keep everything neat and organized.
Configuring the Control System
After installing the panels, it's time to configure the control system. The control system will manage how content is displayed on your video wall. Follow the manufacturer's instructions to connect your source device (such as a media player or computer) to the control system.
Once connected, use the software provided by the manufacturer to configure display settings such as brightness, contrast, and resolution. This step is crucial for achieving optimal image quality and ensuring that your video wall performs at its best.
Testing and Final Adjustments
Before wrapping up, conduct a thorough test of your LED video wall. Play different types of content to check for color accuracy, brightness uniformity, and any potential display issues. Make any necessary adjustments to the panels or control settings based on your observations.
If everything looks good, secure any loose cables and do a final inspection of the entire setup. Ensure that all components are functioning correctly and that there are no safety concerns left unaddressed.

Maintenance Tips for Longevity
To keep your LED video wall in top condition, regular maintenance is key. Dust off the panels periodically using a soft cloth to prevent dust buildup, which can affect image quality. Check for any loose connections or signs of wear in cables and connectors.
Additionally, review your control system settings occasionally to ensure optimal performance as environmental conditions change. By following these maintenance tips, you can extend the lifespan of your LED video wall and continue enjoying its vibrant displays for years to come.